Video Mill : User's Guide
 Contents
 Language
 Product Home
Program Options
 Page Bottom
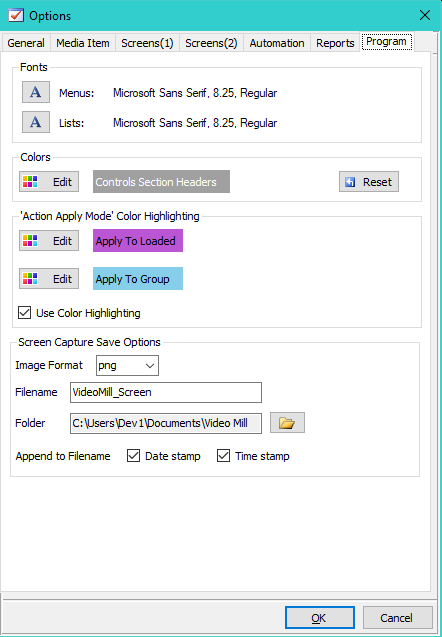
Fonts
Stand up performers and presenters may appreciate the ability to set larger, more readable fonts on the menu and List Items panel during a performance/presentation. Also useful when setting the program for use as a touch screen interface along with scaling tool bar size.
These settings apply to both the Media List Editor and the Automator windows.
- Menu Font - This changes the font used for program menus along the top of the program windows.
- List Font - This changes the font used for the item lists on the left side of the program windows.
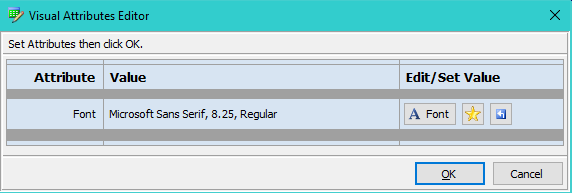
Font Edit dialog
- Edit Font - Allows you to select a new font via font picker dialog including font family, size and style.
- Font from Favorites - Allows you to select a font from existing saved Favorite fonts.
- Reset Font - Resets the font to the Windows default font.
 To Page Top
Colors
- Controls Section Headers - Edit - You can change the colors for the section headers (Figure 2) that separate the various control panels on the Media List Editor . A darker header provides enhanced contrast to visually separate the panels. Foreground sets the text color. Background sets the header color.
- Reset - Resets to the default Windows control colors (white text on gray background in Figure 2). Actual colors will vary based on the Windows Color theme currently in use (see Windows control panel Personalization ).

'Action Apply Mode' Color Highlighting
In specific
 Action Apply Mode
modes, the background of the tool bar buttons that are affected will be highlighted as a visual reminder of which mode the program is currently in. Click the
Edit
button to change to a preferred color. See Figure 3 for an example of a highlighted tool bar .
Action Apply Mode
modes, the background of the tool bar buttons that are affected will be highlighted as a visual reminder of which mode the program is currently in. Click the
Edit
button to change to a preferred color. See Figure 3 for an example of a highlighted tool bar .
-
Apply To Loaded - tool bar color background applied when the
Action Apply Mode
is set to "Apply To Loaded Screens".
-
Apply To Group - tool bar color background applied when the
Action Apply Mode
is set to "Apply To Group".
- Use Color Highlighting - When checked, these colors will be applied. When unchecked, NO color highlighting will be used.

Screen Image Save Options
These options control the Screen Image Save operation (ie screen shot). Changes made here are not used on Media Screens currently loaded. Close the screen and reload it to use these changes.
- Image Format specifies the format of the saved image file (jpg, png, gif, bmp). Note: bmp format creates a file 5-10X larger then compressed formats such as png and jpg.
- Filename is used as the base filename of the saved image file. Generally the Day of Year and a two digit sequence number are appended to make each saved filename unique. (ex: VideoMill_Screen.251.18.png)
- Append to Filename - You can add optional date/time stamps to the filename to help identify the image file. These stamps have the added bonus of making the filenames sortable by date.
- Date Stamp appends today's date to the filename in the form YYYY-MM-DD. This option replaces the Day of Year. (ex: for September 8, filename = VideoMill_Screen.2010-09-08.02.png )
- Time Stamp appends the current time to the filename in the form HH.MM.SS. (ex: for 8:52AM, filename = VideoMill_Screen.08.52.24.02.png )