Video Mill : User's Guide
 Contents
 Language
 Product Home
Quick Start
 Page Bottom
Just the Basics
See the Video Mill Product Home Page for product abstract, hardware requirements, media file formats supported, key features, usage scenarios.
This is all you need to know to get started with a basic Media List. The following steps explain how to setup a list of videos and play them. See the rest of this help document for instructions on using advanced features.
Video Mill Terms
- Media Item - Each Media Item references a media file -- a video, audio or image file. It also has attributes that define how the media is to be rendered on a display.
- Media List - Your video designs are saved as a Media List file. A Media List is made up of multiple Media Items which are listed in the program List panel (left side of Media List Editor, Figure 5).
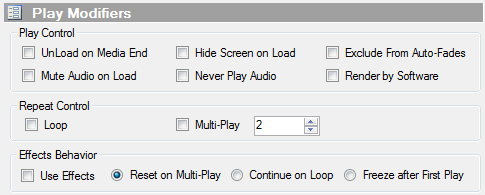
- Media Screen - When you select a Media Item and click the Play button, the media is loaded into a Media Screen, a separate window that you can resize and locate (position) to any of the extended desktop displays (Figure 3).
Open/Close Program Controls Sections
The Media List Editor (Figure 5) has two columns of control panels that expose all the attributes of the selected Media Item. The control panels may be opened and closed allowing you to operate the program in a smaller app window. You only need to open the panels that you are using at a given time. The Open Control Panels Toolbar gives you one-click access to Open/Close each control panel. Each button has a tool tip with its associated section name.
- Click a button to Open its associated control panel.
- Double-Click to Close it.

Media Item Attributes
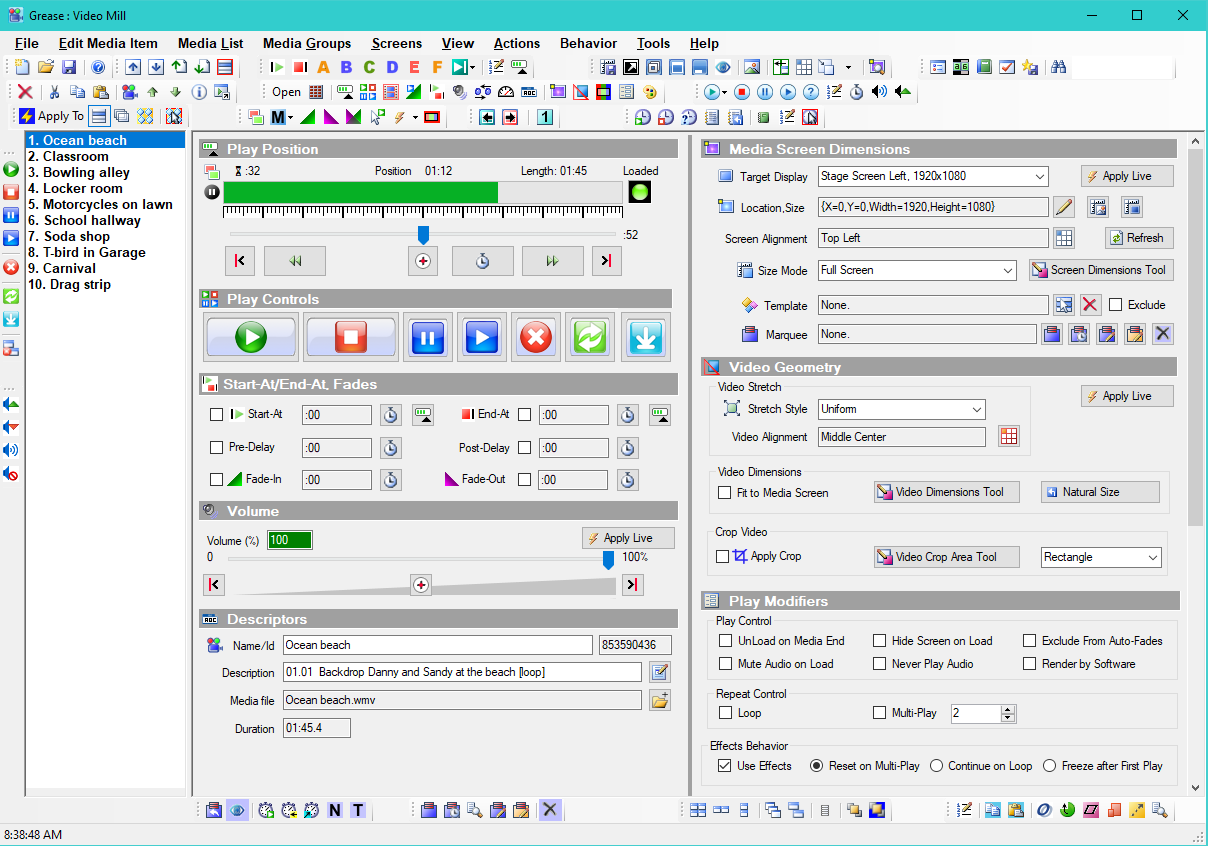
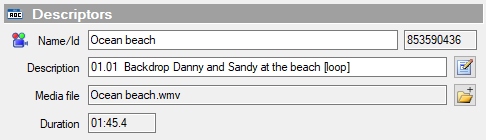
Using the Media Item Descriptors panel (Figure 1) and Play Modifiers panel (Figure 2), you apply attribute values to a selected Media Item. Attributes control how the media is rendered on the screen and its behavior. Media Lists retain all the attribute information so at the time of the performance, you only need to click the play button. You should understand that Video Mill never modifies the source media file directly. Video Effects are applied when you play the video and can be changed as many times as desired without affecting the media file itself. And you can have multiple Media Items that reference the same media file, each having different attributes and rendering effects.
Screen Modes: Single Screen or Multi-Screen
You can operate the program in two modes. Select the mode in the Behavior menu.
- Single Screen - In Single Screen mode, only one Media Screen at a time will play. When you click Play, the selected Media Item will replace any video currently playing. In this way, it has similar behavior to standard players such as Windows Media Player.
- Multi-Screen - In Multi-Screen mode, multiple Media Items can play simultaneously, either on the same display device or on separate displays.
 To Page Top
Extending Displays on the Windows Desktop
See the Extending Displays Knowledge Base article if you don't know how to extend displays. The Primary display is typically where the Video Mill program window resides. The number of extended displays is limited only by the number of physical hardware connection sockets to your computer. The display device can be literally any digital display that can be connected to a computer (TV, video projector, computer monitor, etc). At edit/design/test time, you do not need to have the secondary monitor connected. Media Screens can be displayed on the computer's Primary screen.
Building and Editing a Media List
- Add videos by drag and drop - For productive editing you can drag and drop local computer video files into the List panel from Windows Explorer (or most any file manager). A new Media Item is added to the list for each dropped file. You can also drop a folder of video files.
- Add Internet or Network based videos - You can also add Internet based streaming content, Web located media files or Network based media files. Click the Weblink button (Figure 1) and paste the Web url into the dialog. See the Descriptors section for more details.
- Moving Media Item in the list- Select a Media Item in the list, then click Move Up (or Down) button on the Edit tool bar to move the Media Item to a different position in the list.
- Copy/Cut- Select a Media Item in the list, then click Copy (or Cut) button on the Edit tool bar to copy the selected item into the Media Item clipboard. Note: Cut/Delete do NOT remove the source Media File from your computer.
- Paste- Click Paste button on the Edit tool bar. The Media Item in the clipboard is pasted into the list at the position of the current selected Media Item.
- Name- Each Media Item has a Name field located on the Descriptors panel. You can set the Name as desired to identify the Media Item in the context of your production design.

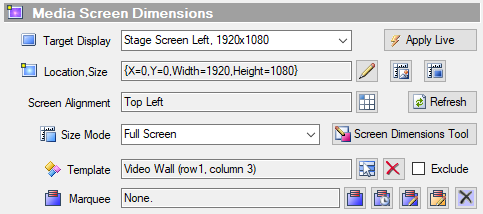
Media Screen - Target Display, Size and Location
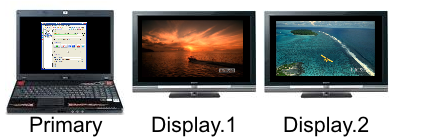
In the Media Screen Dimensions control section (Figure 4), you can set the Media Screen's Target Display, Size Mode and Alignment. If you chose Full Screen for Size Mode , then the Alignment is ignored.
Using Play Controls
- Play a video- Select a Media Item in the list, then click the Play button on the Play Controls panel. Play will Load (open) a Media Screen on the Target Display, and the video begins playing. Multiple videos can be played simultaneously. There is a separate Load button if you want to open the Media Screen but not begin play immediately.
- Stop a video- Select a Media Item in the list, then click the Stop button. This also has the affect of resetting the video to the beginning (aka rewind).
- Pause/Resume-Select a Media Item in the list, then click the Pause or Resume button.
- Stop and Unload- Same as Stop but the Media Screen is also Unloaded from the Target Display.
- Volume- Drag the Volume slider to lower or raise the volume of the video.

Saving and Re-opening the Media List
- Save - Click File > Save to save the Media List for future use. The default Media List file extension is '.MLT'.
- Open - Click File > Open to open a previously saved Media List.
Hide Unused Toolbars
There are a lot of toolbars provided as one-click productivity aids. For a less cluttered work space, hide any toolbars you don't regularly use. (View > Toolbars > Hide Toolbars)